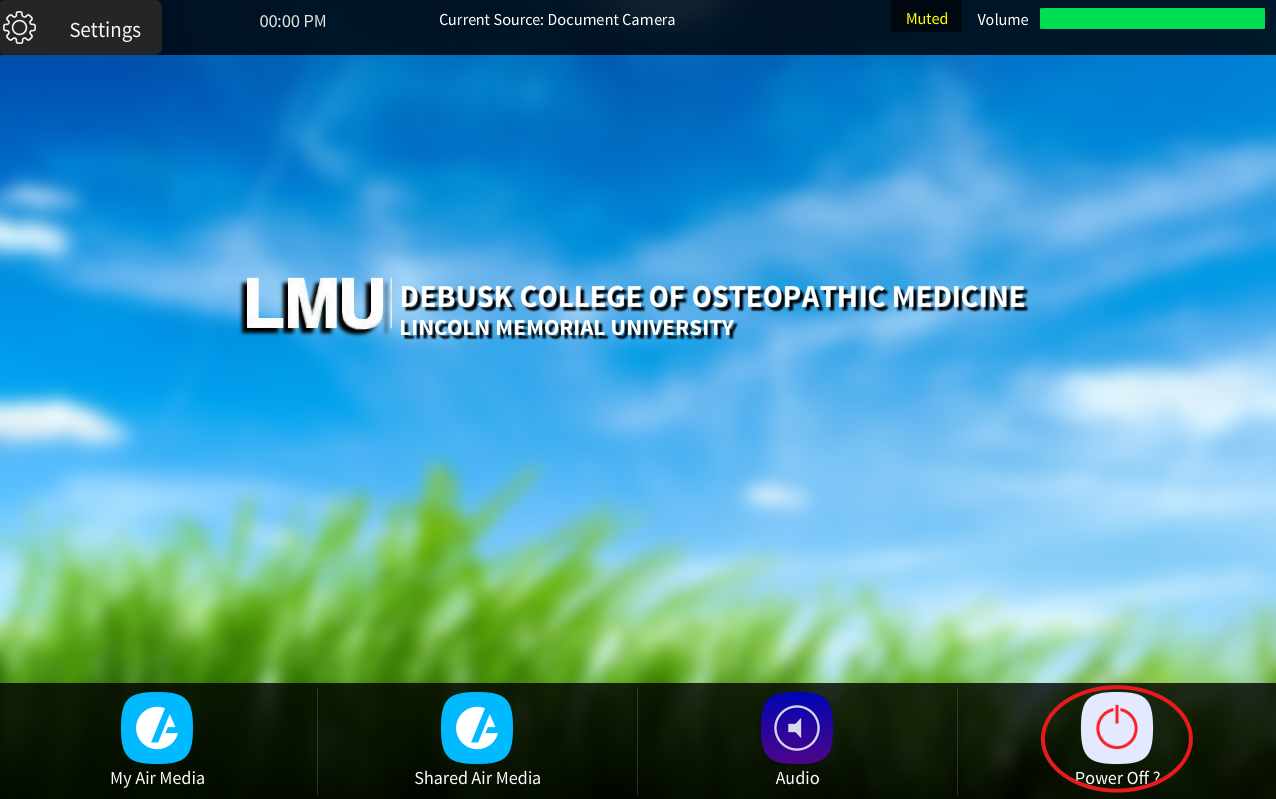
To turn the system on press and hold anywhere on the touch panel's home screen pictured below:

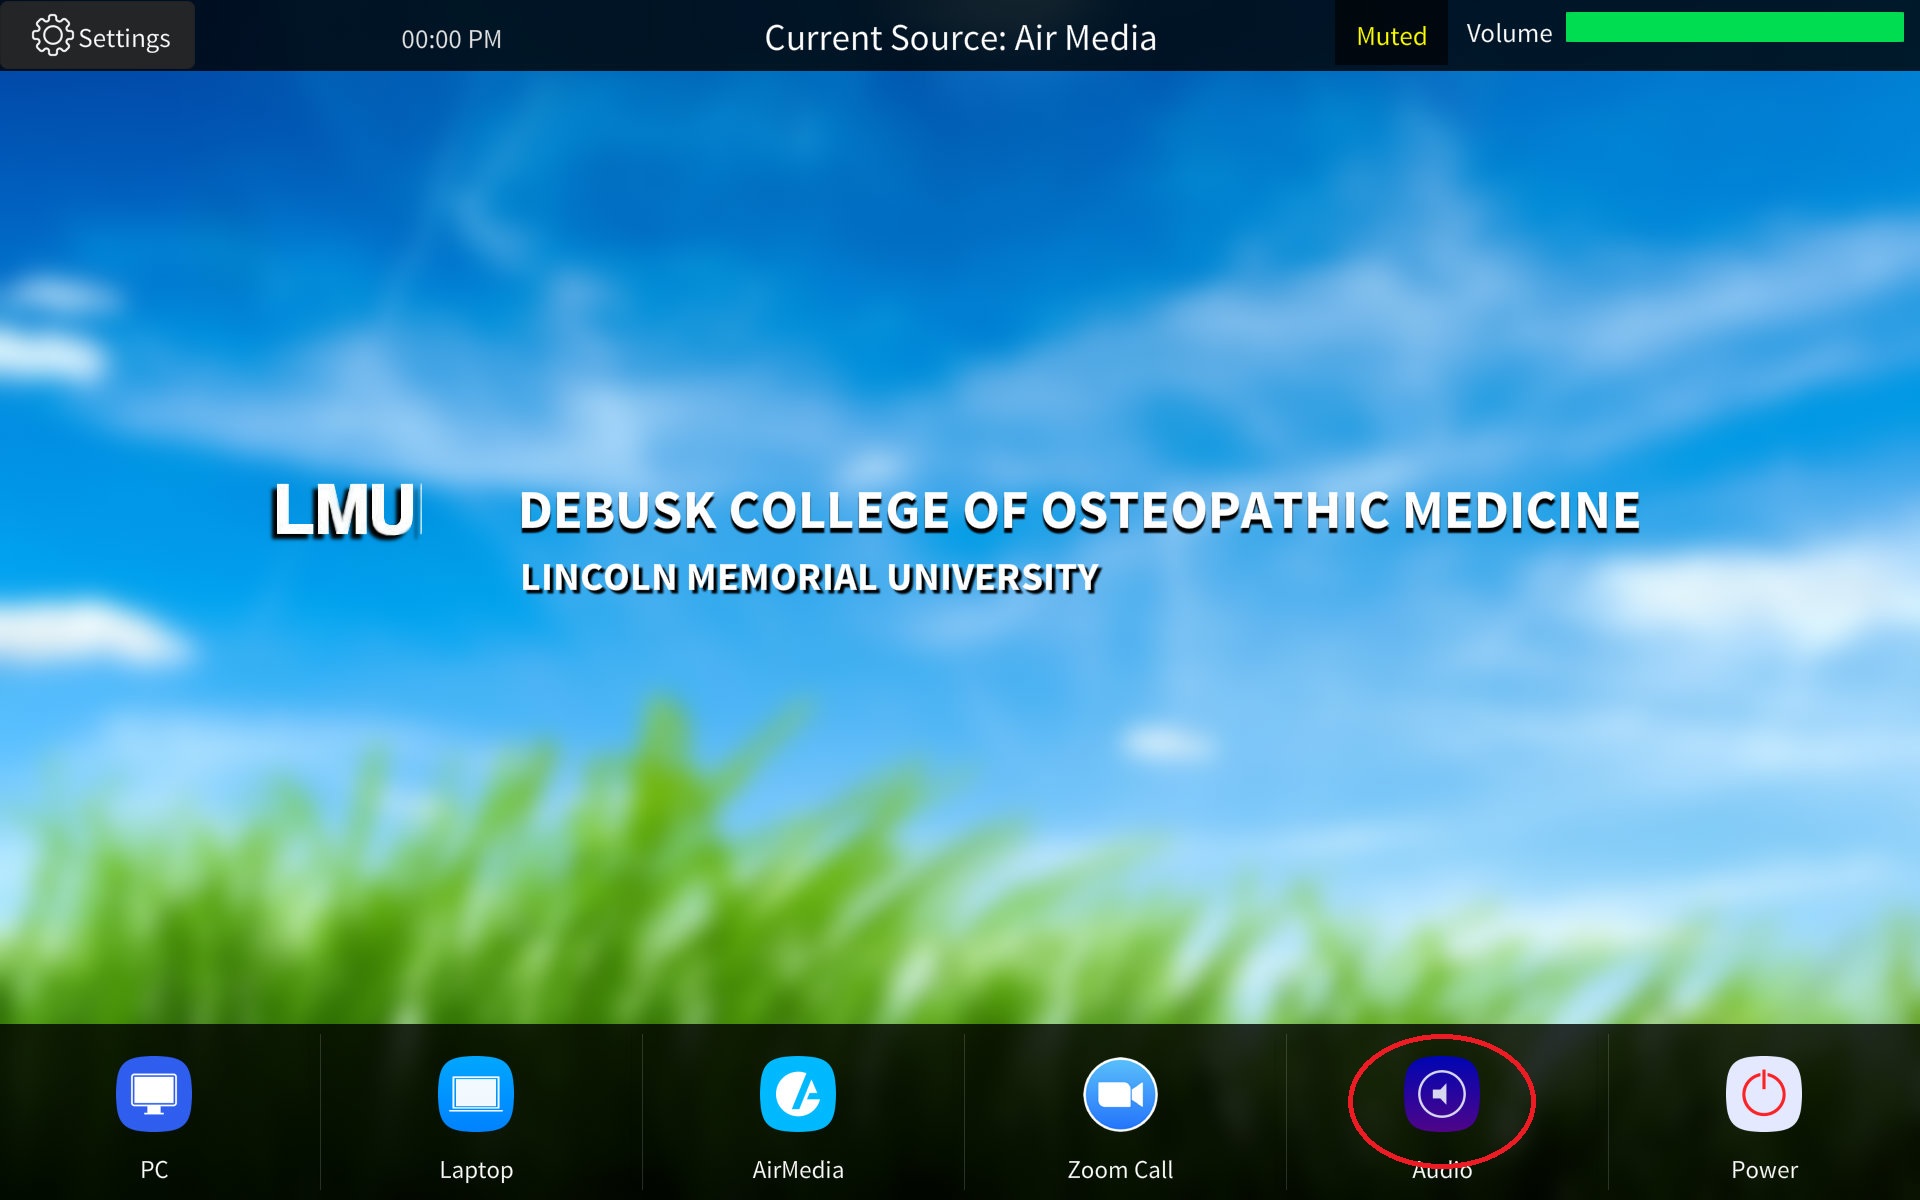
Then select the source you want to send to the screens from the bottom row of options:

Select "PC" to send the Podiums provided computer.
Select "Laptop" to connect a Laptop to the provide wired connection on the podium.
Select "AirMedia" to send a device image wirelessly. Then follow the on screen instructions
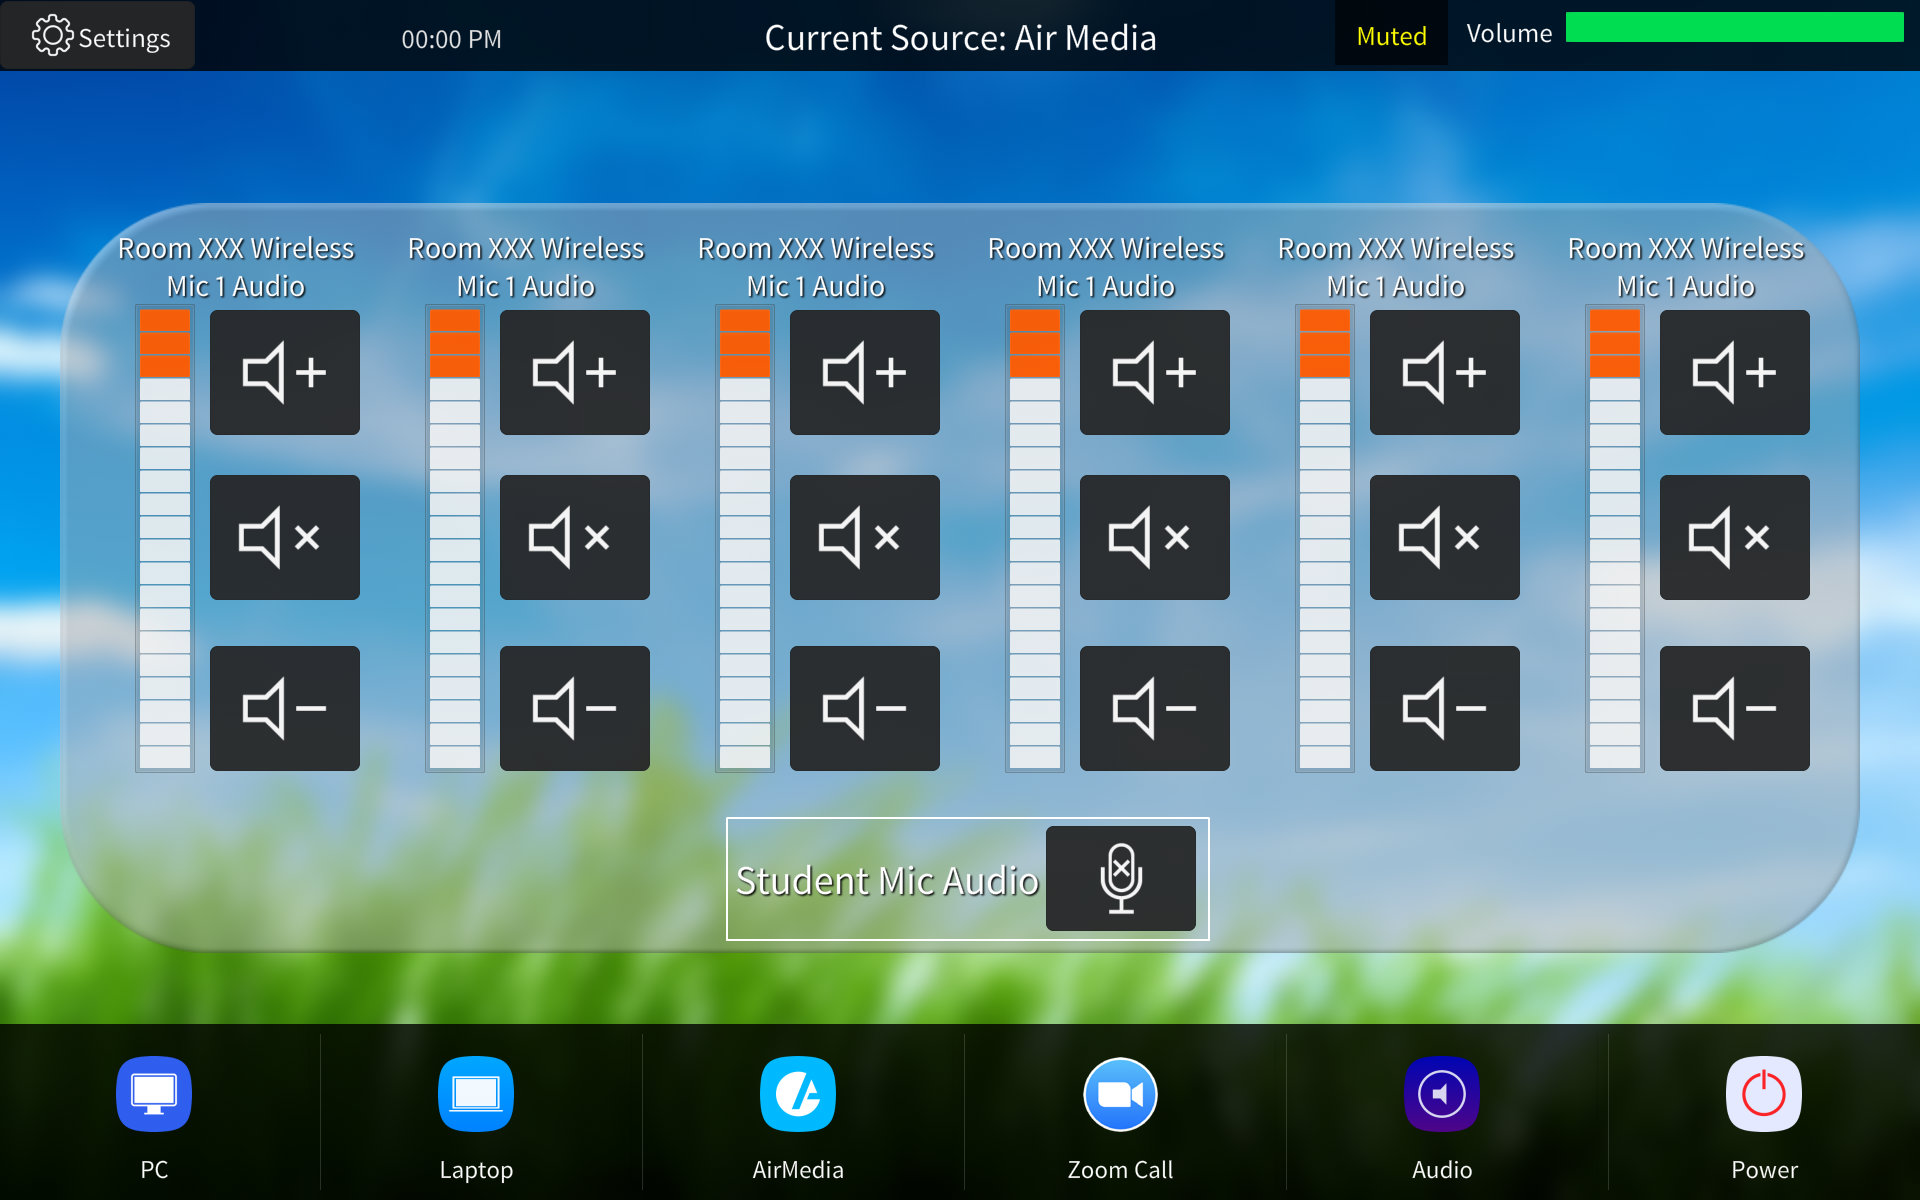
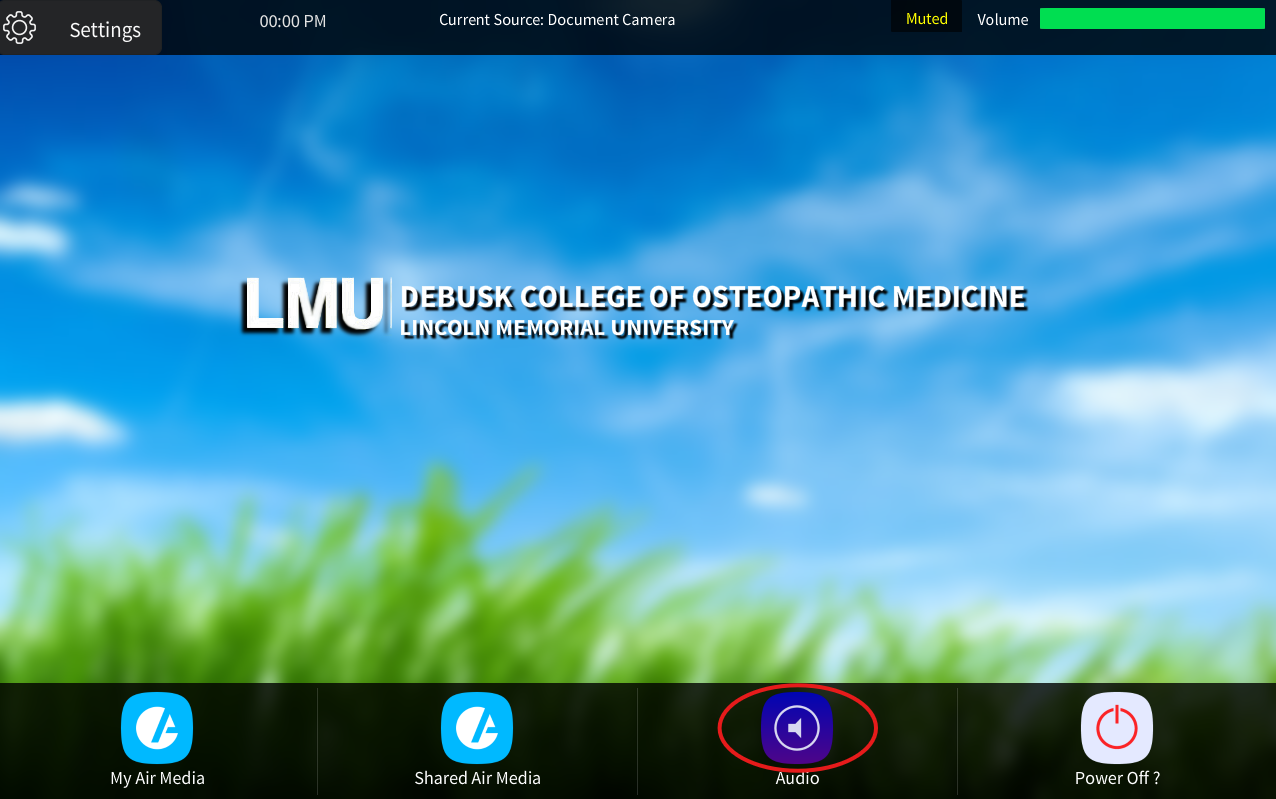
You can adjust audio levels or mute mic by selecting the purple Audio icon shown below:
Once selected. This will take you to a page where all the audio options for the room will be listed. You can turn the corresponding volume up or down denuding on your needs. Please not the volume controls will be different for each room as each room as different technology. An Example is below:
***Please note for Zoom Capable rooms the following instructions also apply***
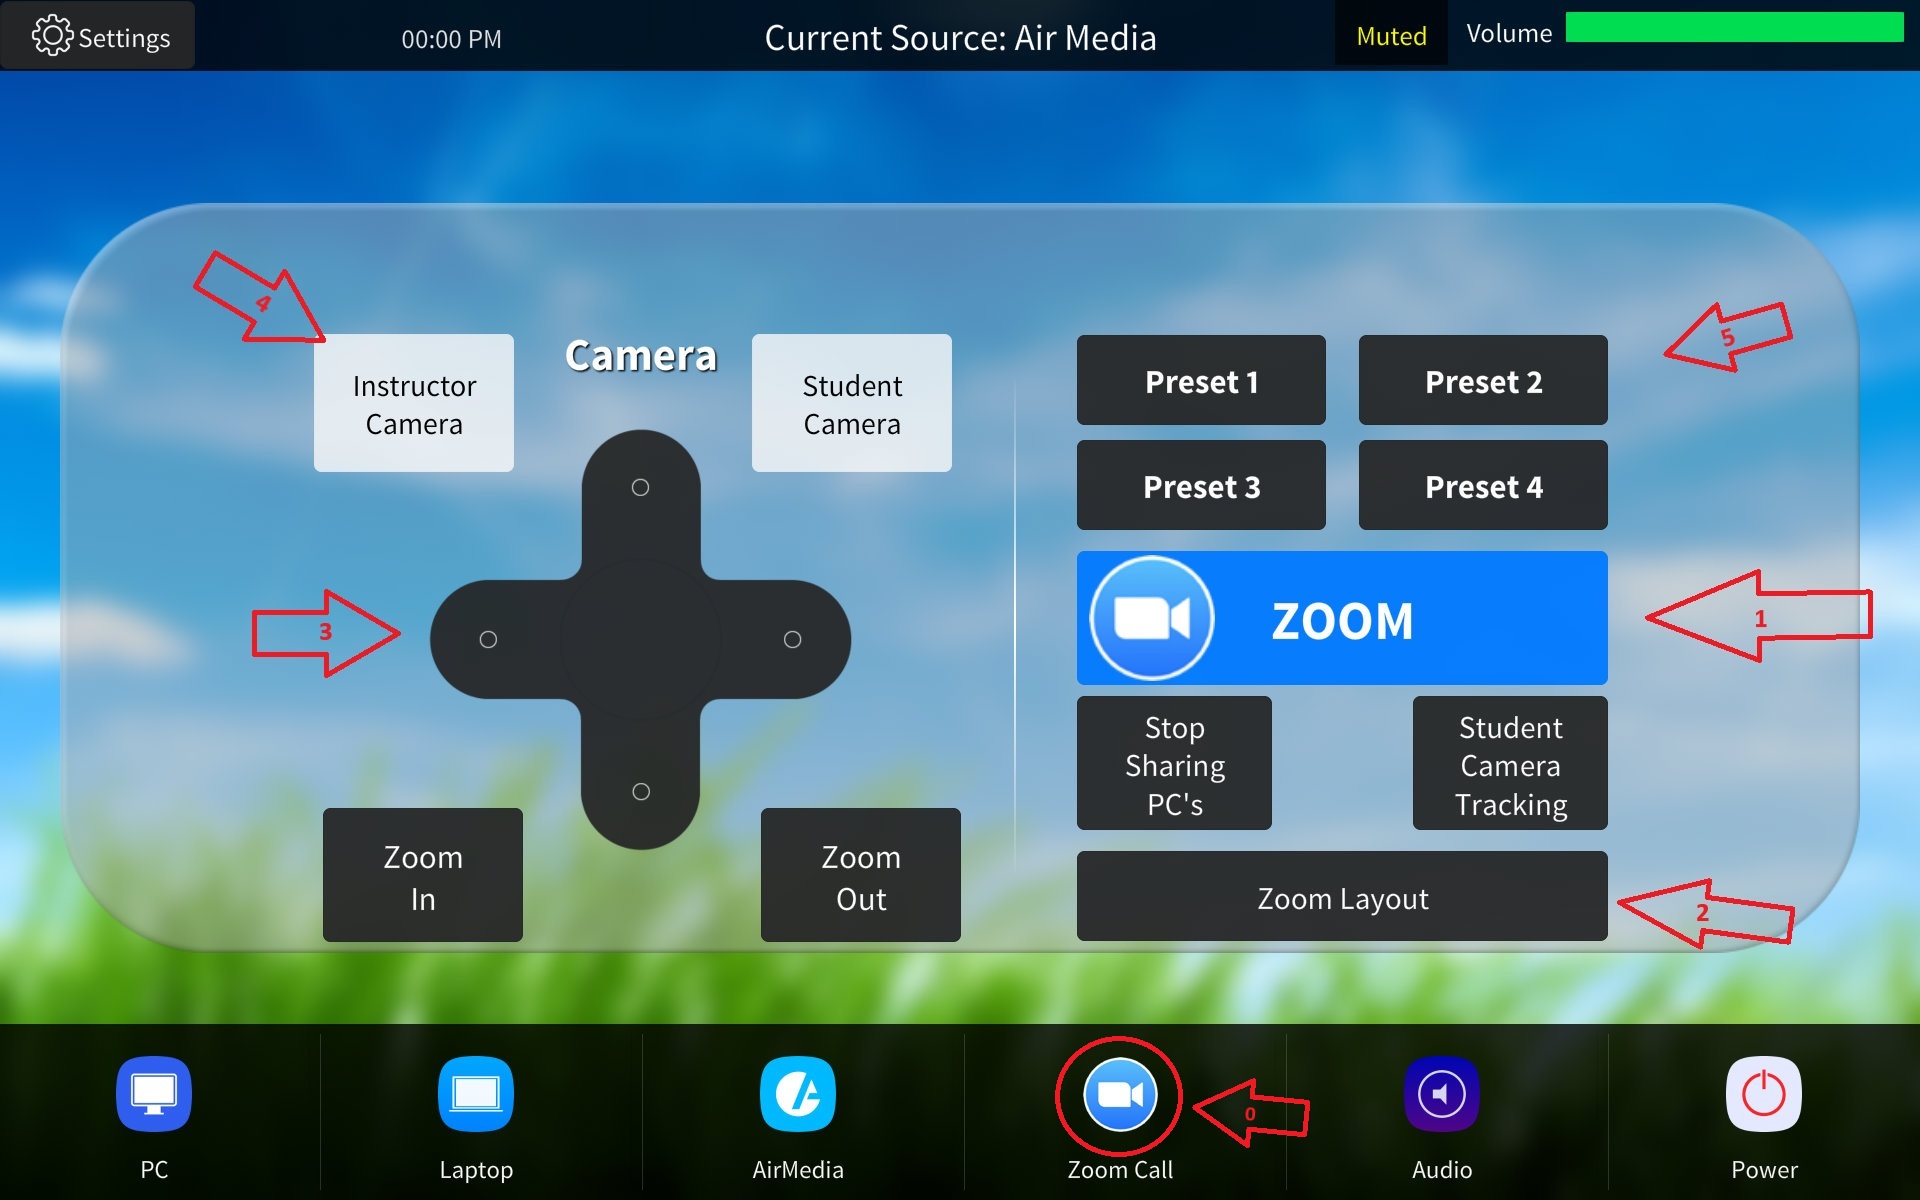
0) You can press the blue Zoom Icon to route Zoom to the screen(s).
1) Pressing the large blue Zoom Square on the center of the page will take you to the Zoom interface. From there you can connect to the Zoom.
2)Pressing the "Zoom Layout" button only works in rooms with multiple screens. While in a Zoom if your camera is routed to on screen and your computer another this button will allow you to chose which screens will display which.
3) These are the camera controls. You can move the camera in any direction as well as zoom in/out.
4) If there are multiple camera in a room these white buttons will allow you to chose which ones are going to show up in Zoom.
5) These are the camera presets. By pressing these buttons the cameras will automatically go to a pre-saved location. If you want to save a new location just move the camera to the desired location using the on-screen directional pad then hold down one of the pre-set buttons for five seconds. That preset will no be save. Please be aware pre-set one is the default for the room so if you save over it the camera will boot up to that location overtime the room starts.
If you are in the Zoom interface mention in step 2 it will look like the screen below:
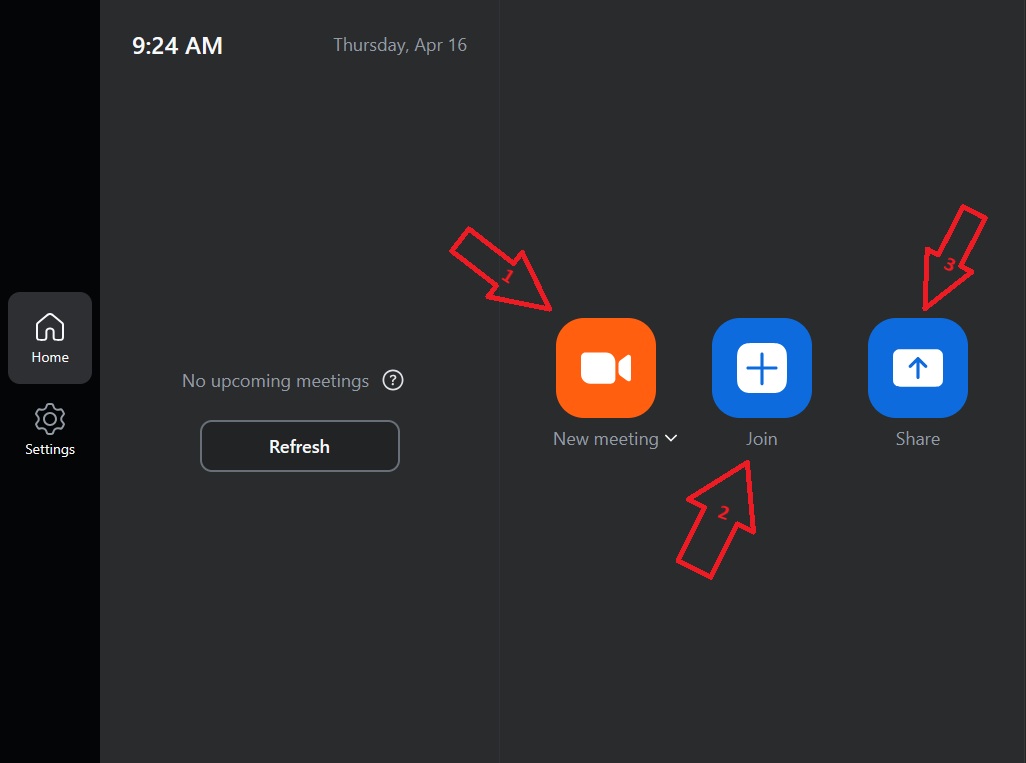
1) Pressing "1" will allow you to start a Zoom meeting using the room as a host. You will then need to share the rooms meeting ID with any other participants.
2) Pressing "2" will allow you to join a a Zoom meeting that has already been set up. This is for a meeting that you already have a meeting ID for. You would select "Join". Then the meeting ID you have.
*3) Is only used when you want to share a computer screen to the room using Zoom. This is not to host an actual meeting.
Once you are in a meeting you will be presented with the following screen:
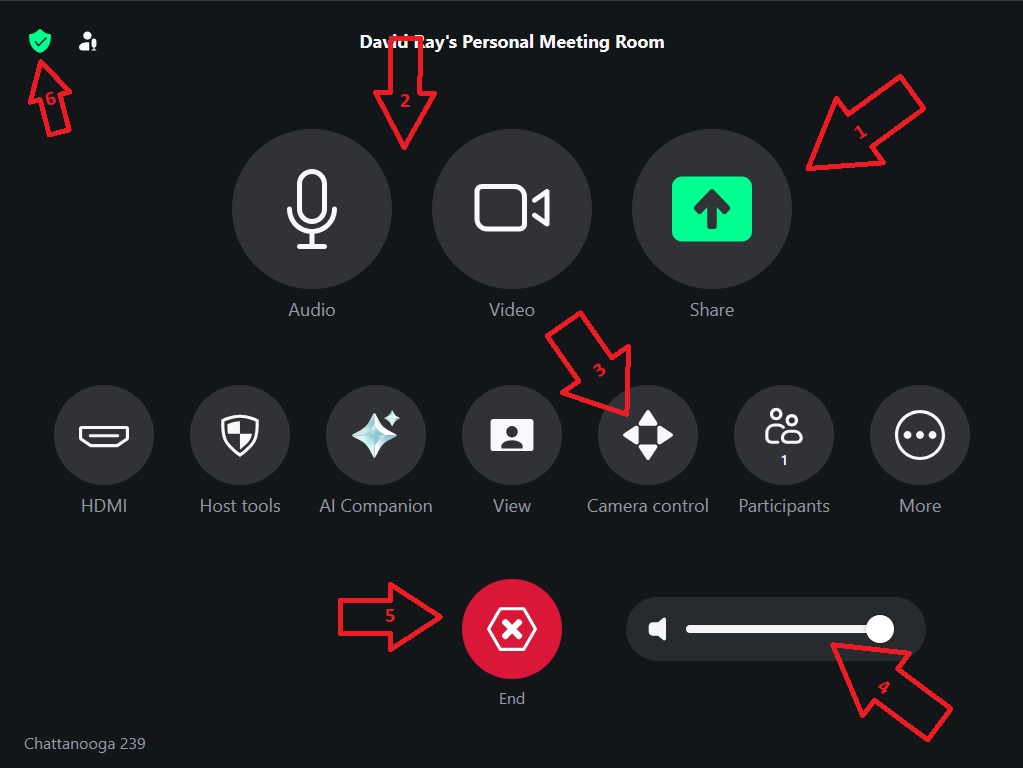
1) By pressing this button you share the rooms computer to Zoom. Allowing the far-end to see what is on your computer.
2) The "Audio" and "Video" buttons can mute audio and camera signals to Zoom.
3) The "Camera Control" button will take you to a screen where you can control the in room camera.
4) This is a volume meter. It will ONLY control the volume of how loud the far-end zoom participants sound in the room.
5) To leave or end the meeting press the big red "x".
6) Additional meeting info can be found in the top left corner by pressing the green shield icon.
The Exam and Sim rooms are controlled by a large inch touch screen. The power button for this is located on the right side of the monitor on the rear side of the bezel. If you ever enter a room and it is not displaying please check this first.
Once the touch screen is on you will see the screen below:
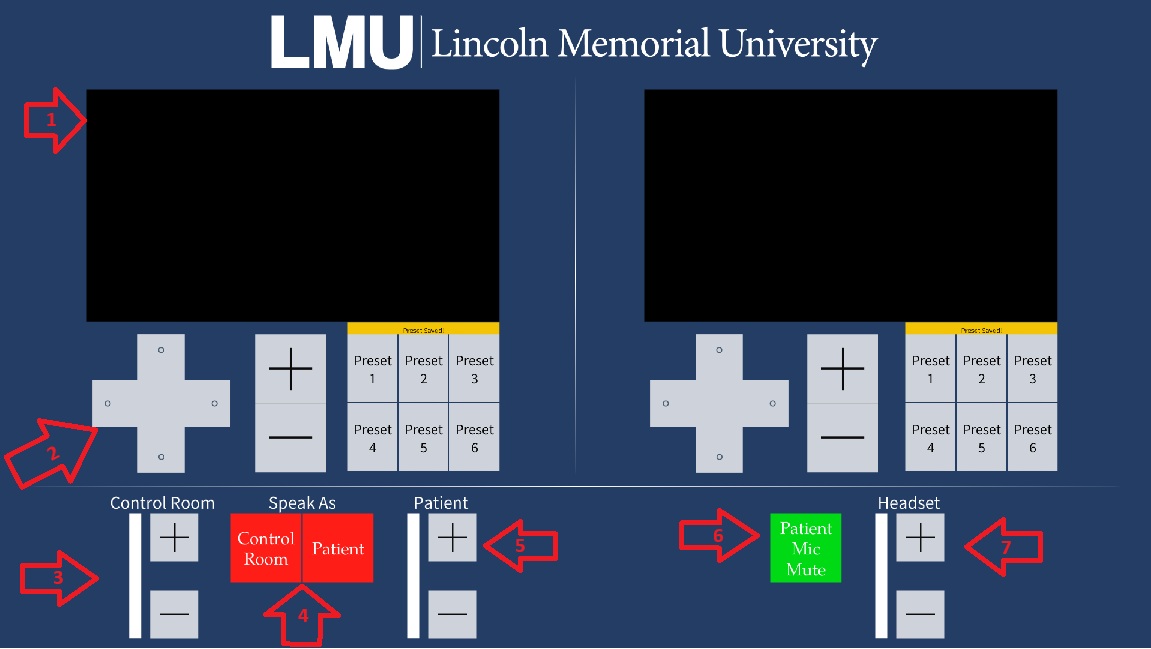
1) Will display a preview of the room cameras.
2) Are camera controls. There is a directional pad , zoom buttons, and 6 preset locations. You can save a preset by holding the preset button for 5 seconds. Each camera control only controls the camera that is displayed in the window above it.
3) This is the gain for the control room mic. This will increase or decrease how loud you sound in the room.
4) In Sim Labs (not exam Rooms) you can choose to pick which speaker you want to come from.
5) The is the gain for the patient mic ( the mic in the room). This will control how loud the people in the room sound to you and on any recordings.
6) This is the patient mic mute. Toggling this will mute the audio from the room to your headset.
7) Controls the volume of the headset.
**Please note if you are using an EXAM ROOM interface you will be presented with the following additional controls.

8) Is the "Page All" button. When enabled this will send the control room mic to ALL rooms in the Exams center and the hallway speakers.
9) These are the Hallway speaker controls. When enabled the control room will send audio to "just" the hallway speakers. It will not send audio to the exam rooms. In addition you can increase or decrease the volume of the hallway speakers with the gain volume on the right.
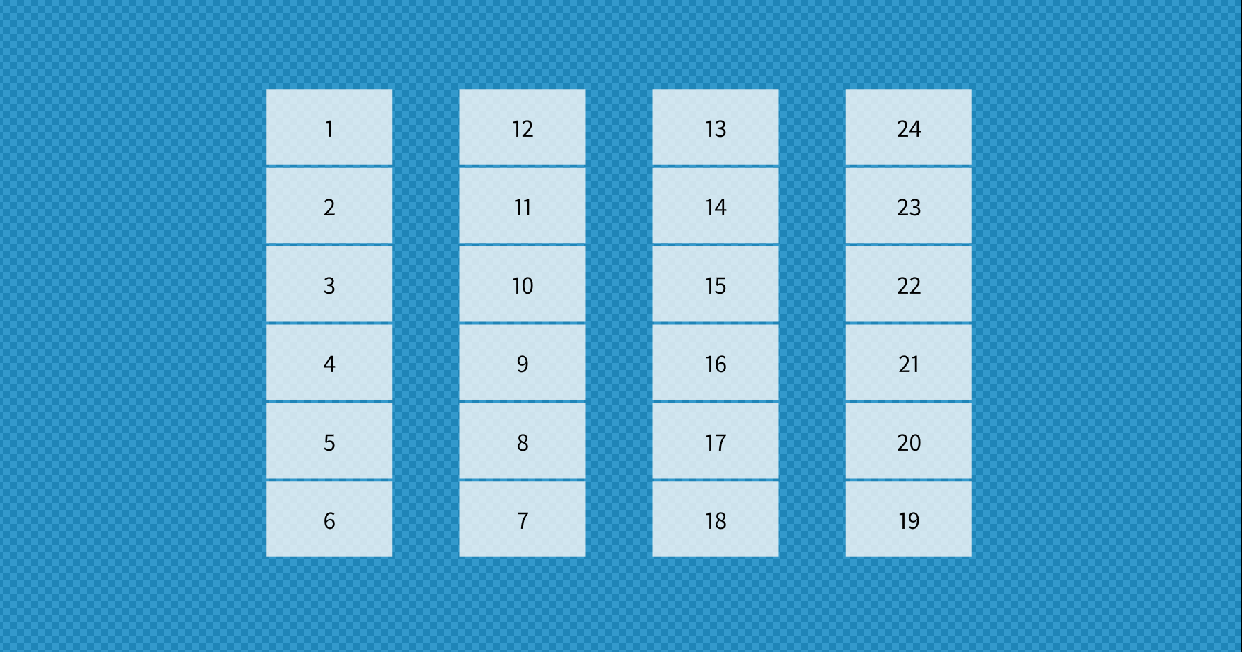
10) Is the "Room Select" button. This will all you to change between rooms. Picking one at a time to control the cameras and audio for the room. Once you select it the screen below will appear giving you the option to choose from a list of available room
To turn the system on press and hold anywhere on the touch panel's home screen pictured below:

This will take you to the screen below:
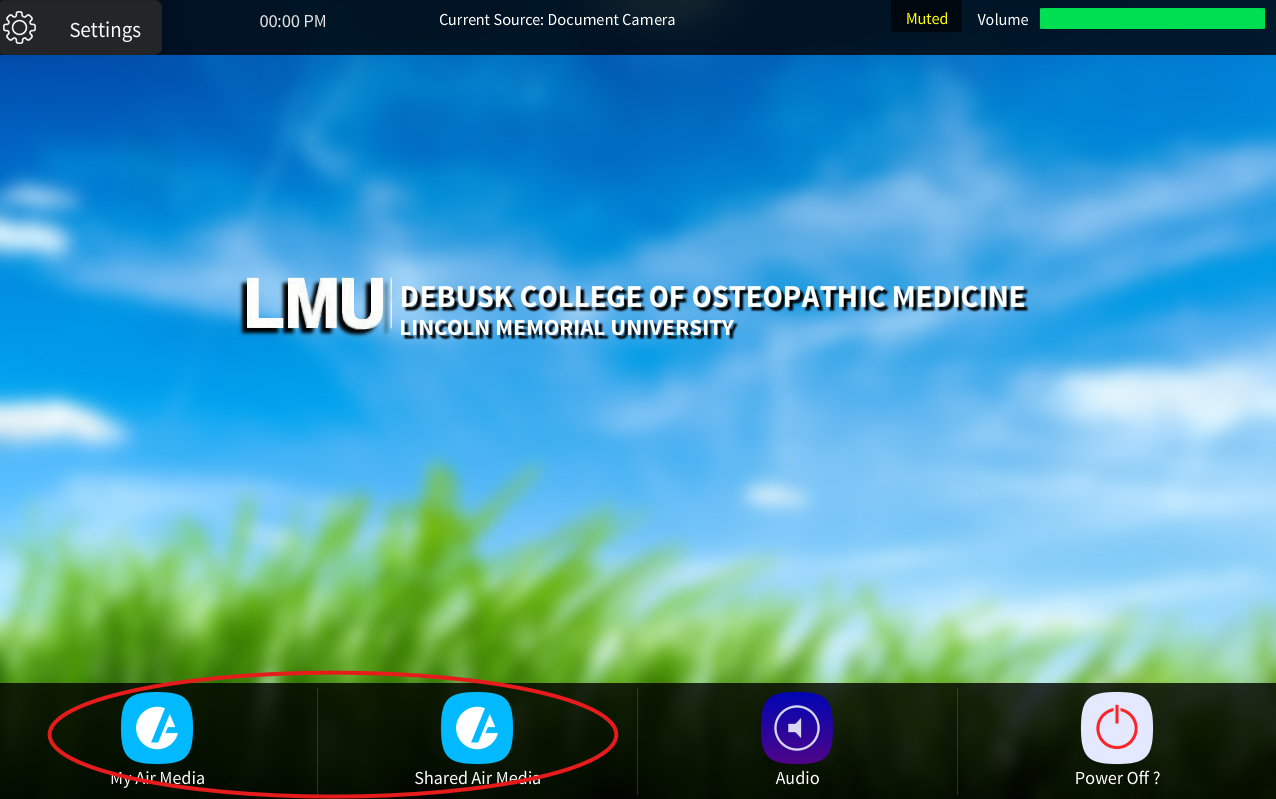 1) Please be aware that an AirMedia is the only to connect to the screens in the DCOMK skills lab. You will, however, see two options for it on on the bottom of the touch panel (circled above). This is because there are two total AirMedias in the lab. This allows you to route one image to all screens in the event you wanted everyone in the room to see what you were presenting. It also allows you to route them to each of the screens individually for break out groups.
-"Shared Airmedia" will route one AirMedia to all displays in the room.
-"My AirMedia" will route a different AirMedia to each display.
There are also volume controls for the room speakers located on the audio page.
When you are done please make sure you turn off the room system using the power button. It will ask you to confirm: