To turn the system on press anywhere on the touch panel screen below.
Then select the source you want to send to the screens from the bottom of options.
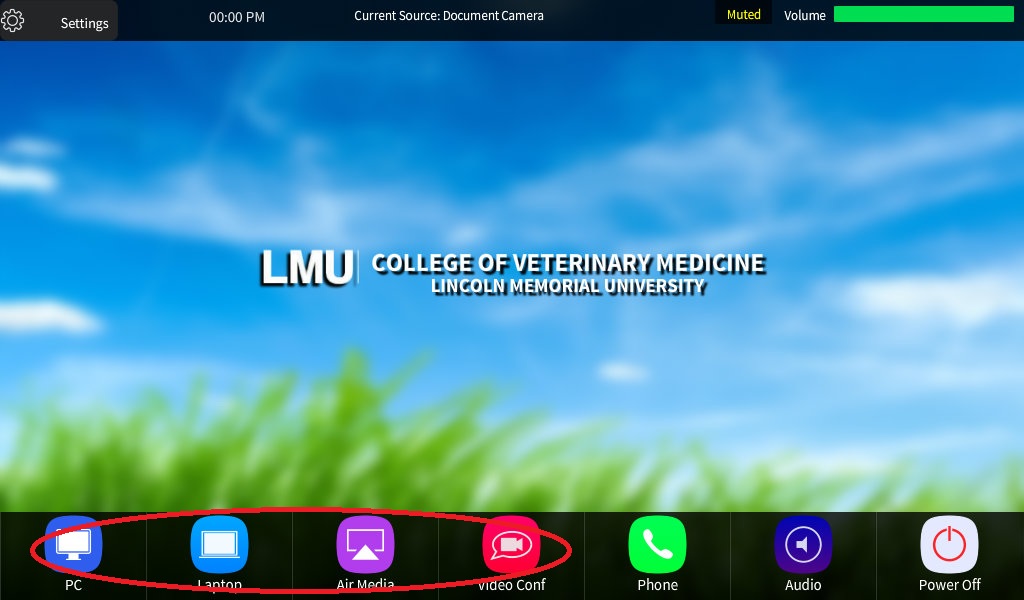
To send the "Podium PC" select the "PC" option.
To send a laptop press "Laptop"
To connect a device wirelessley press "AirMedia".
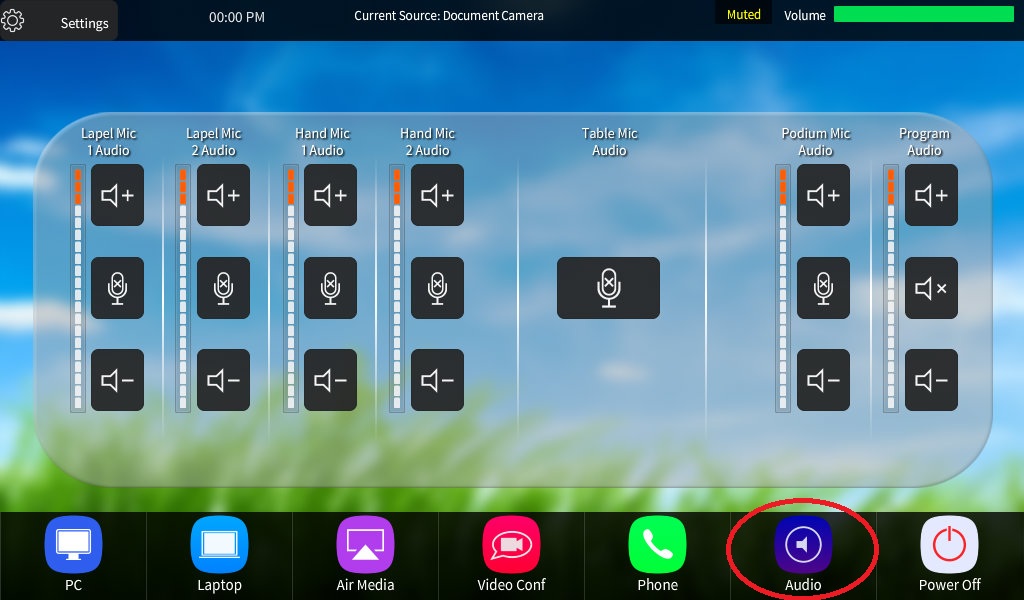
You can also adjust the audio levels from this page by selecting the "Audio" button. This will bring you to the page below where you can adjust the corresponding levels:
** Please not that for any Zoom Capable Room you the following instuctions also apply*
If you need to do a Zoom Meeting you can select the red "Video conference" icon from the bottom row. This will display the screen below:
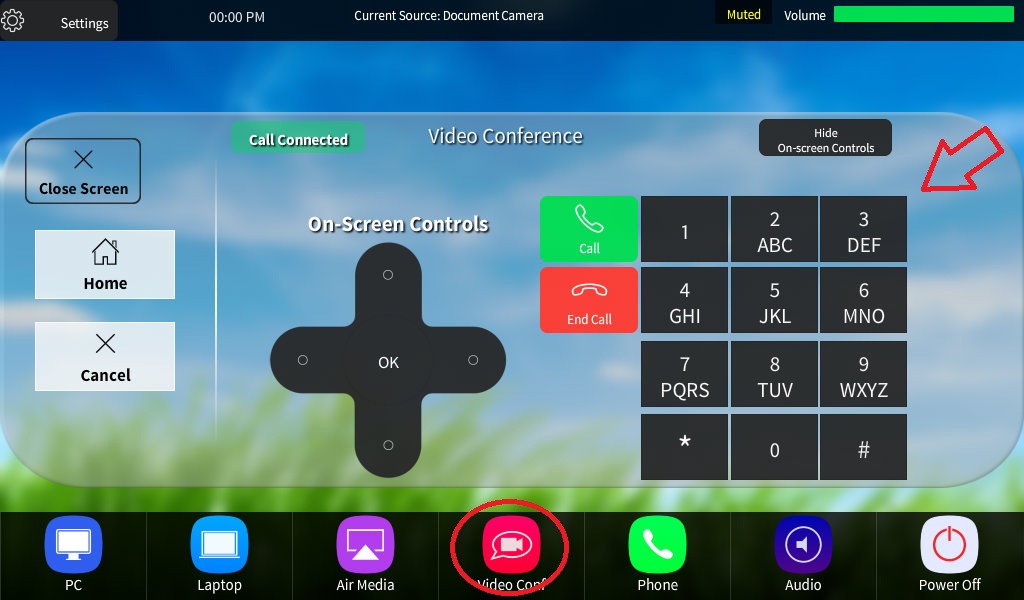
To connect to Zoom please dial into the Zoom Bridge (206.247.11.121) then press the green "Call" button. Then enter in your meeting ID and press #. Please be aware the meeting ID is specific to the meeting you are hosting.
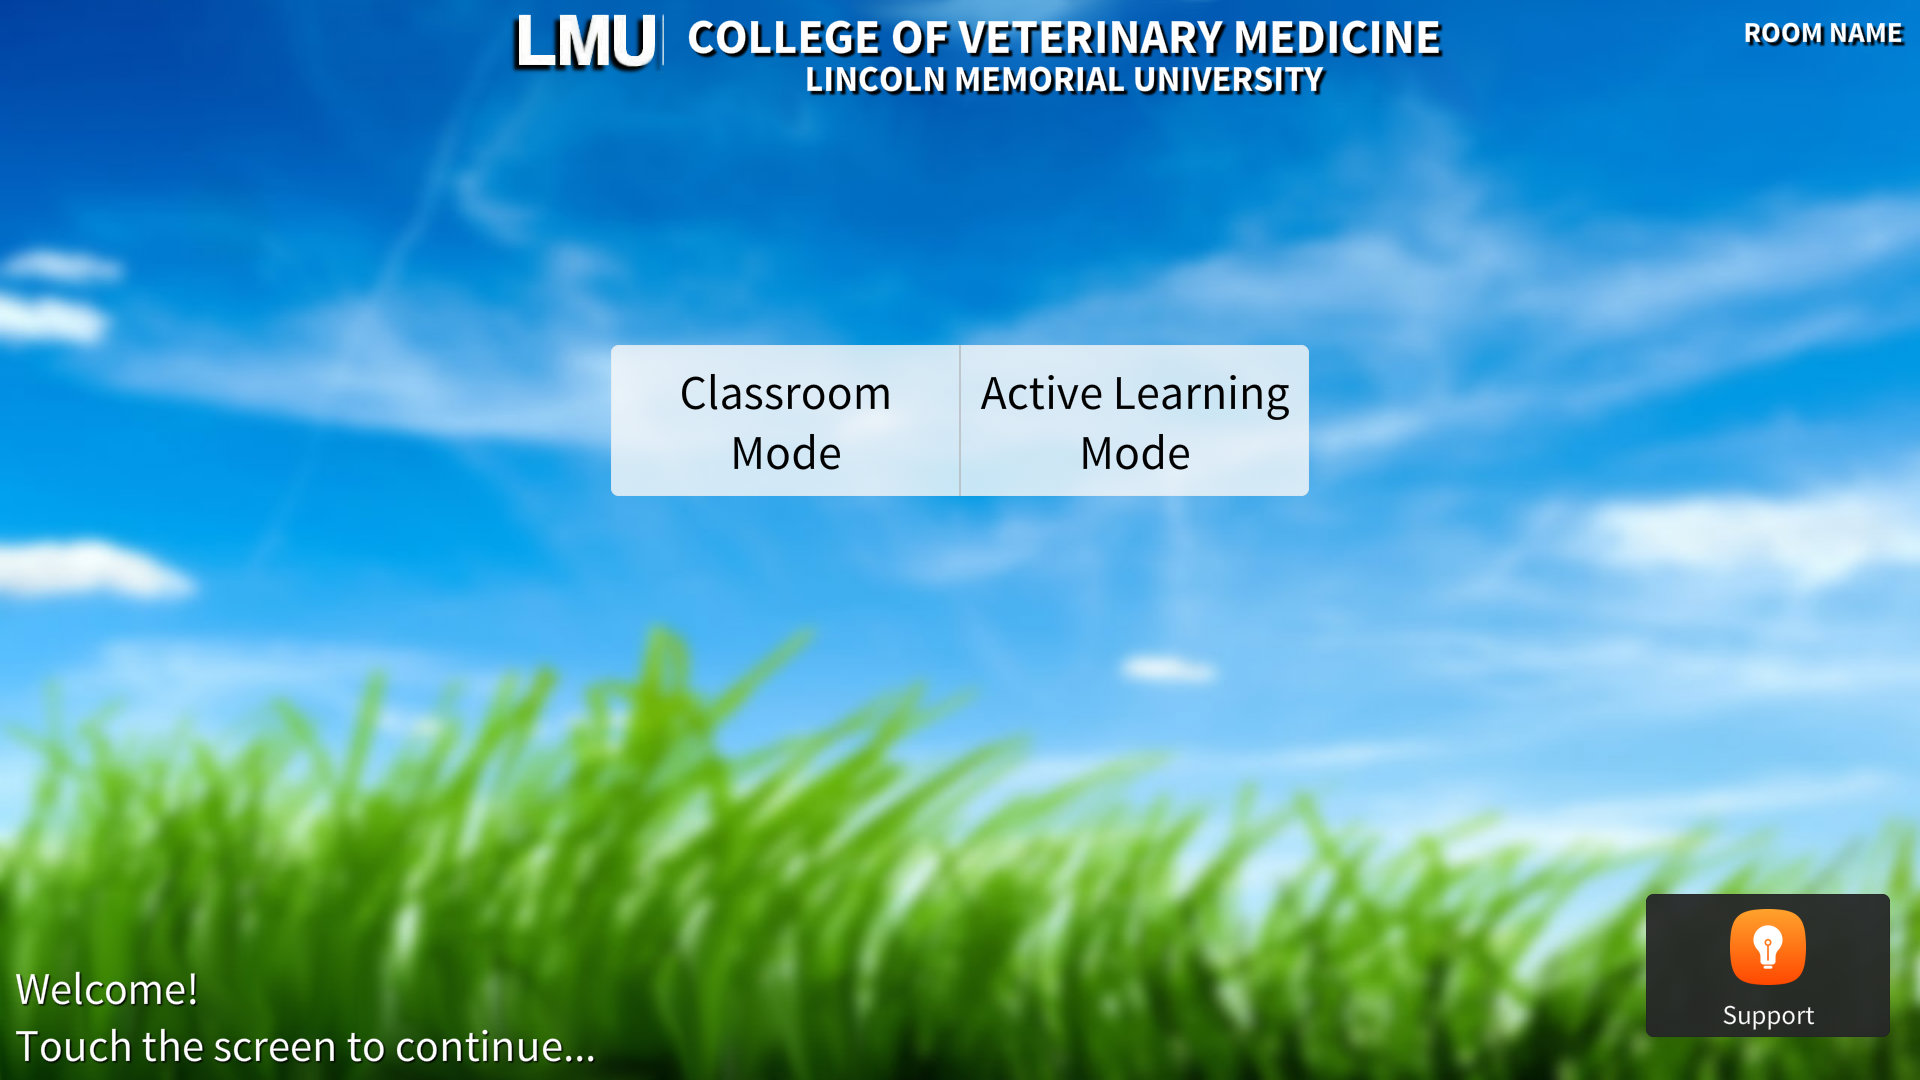
When starting the room system in an "Active Learning" room you will be presneted with two optinons.
Classroom Mode: Functions as a normal classroom. Please see the CVM Classroom instuctinos for more details.
Active Learning Mode: Allows for ever screen in the room to receive a diffrent video signal. This is great for break out rooms nad group activities.
To use the "Active Learning Mode" select the corresponding button below from the touch panels splash screen.
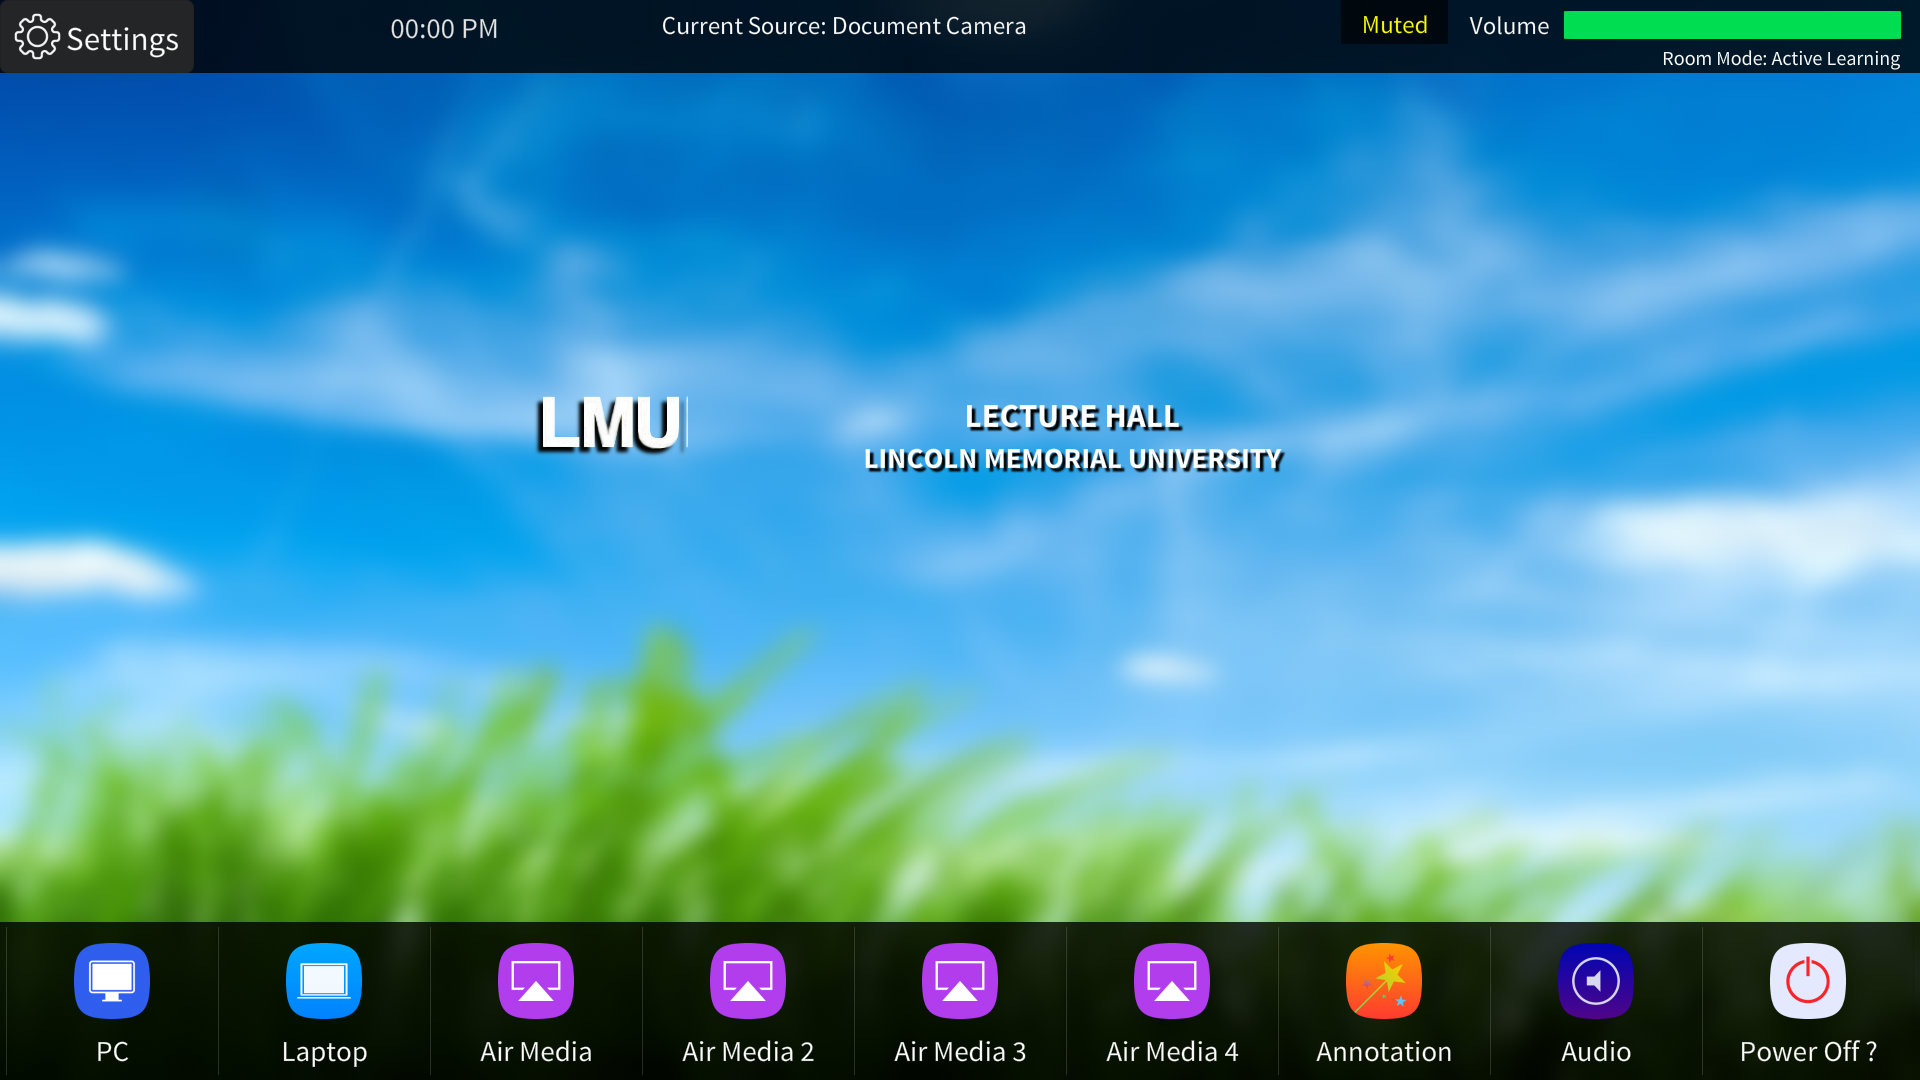
PC and Laptop will function as normally in this mode. However, when pressing "AirMedia" it will route a diffrent AirMedia to each screen to allow for break out sessions. In addition if you wanted to temprarily route one of the AirMedias to all of the TVs to display a partiucal groups work to everyone you could select the corresponding TVs AirMedia.
The Exam and Sim rooms are controlled by a large inch touch screen. The power button for this is located on the right side of the monitor on the rear side of the bezel. If you ever enter a room and it is not displaying please check this first.
Once the touch screen is on you will see the screen below:
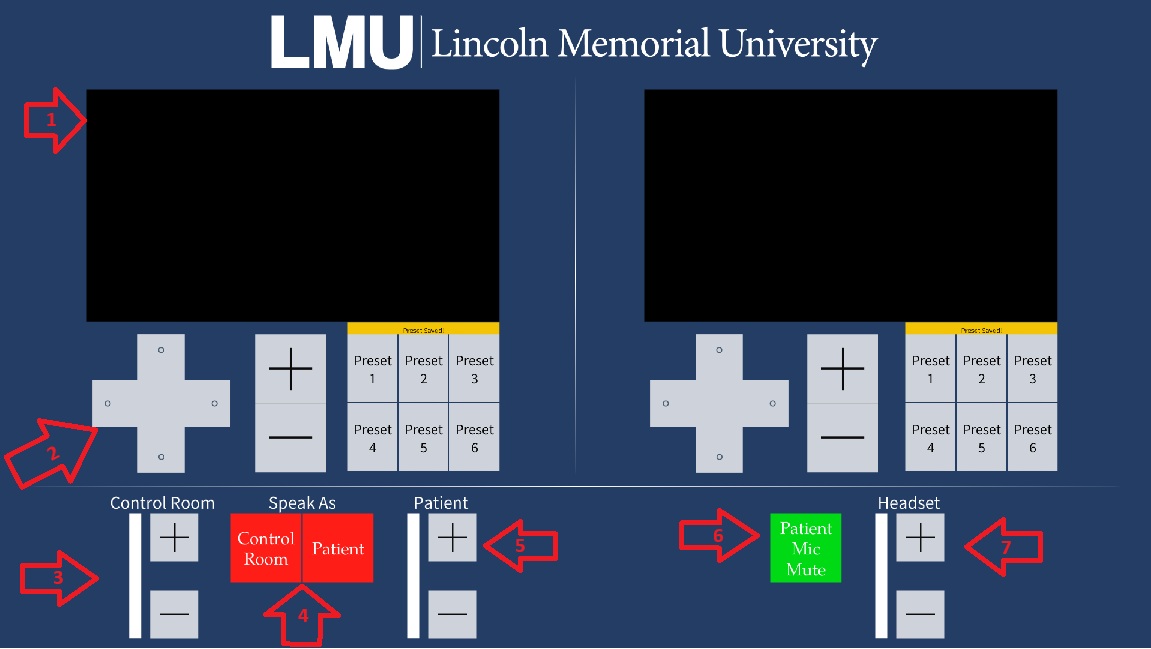
1) Will display a preivew of the room cameras.
2) Are camera controls. There is a dirctional pad , zoom buttons, and 6 preset locations. You can save a preset by holding the preset button for 5 seconds. Each camera control only controls the camera that is displayed in the window above it.
3) This is the gain for the control room mic. This will increase or decrease how loud you sounf in the room.
4) In Sim Labs (not exam Rooms) you can choose to pick which speaker you want to come from.
5) The is the gain for the patien mic ( the mic in the room). This will control how loud the people in the room sound to you and on any recordings.
6) This is the patient mic mute. Toggling this will mute the audio from the room to your headset.
7) Controls the volume of the headset.
**Please note if you are using an EXAM ROOM interface you will be presented with the following additional controls.

8) Is the "Page All" button. When enabled this will send the control room mic to ALL rooms in the Exams center and the hallway speakers.
9) These are the Hallway speaker controls. When enabled the control room will send audio to "just" the hallway speakers. It will not send audio to the exam rooms. In addition you can increase or decrease the volume of the hallway speakers with the gain volume on the right.
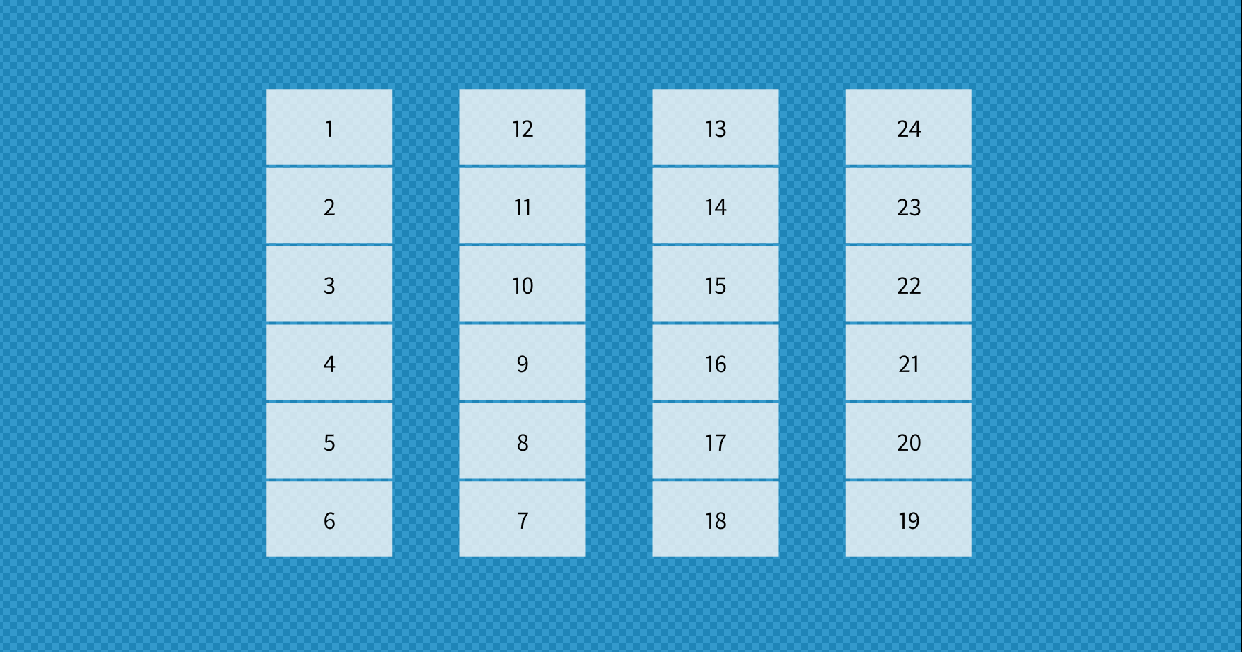
10) Is the "Room Select" button. This will all you to change between rooms. Picking one at a time to control the cameras and audio for the room. Once you select it the screen below will appear giving you the option to choose from a list of available rooms.