Mapping a printer on a Mac
To map a printer on your personal Mac, follow these steps. Before beginning, be sure you're connected to the LMU_Student or the appropriate, classroom specific, wireless network. (Note - the screenshots below were taken from OSX 10.8.5, so your screens may look a little different)
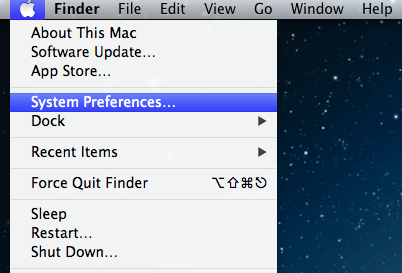
- Click on the Apple Menu, then click System Preferences
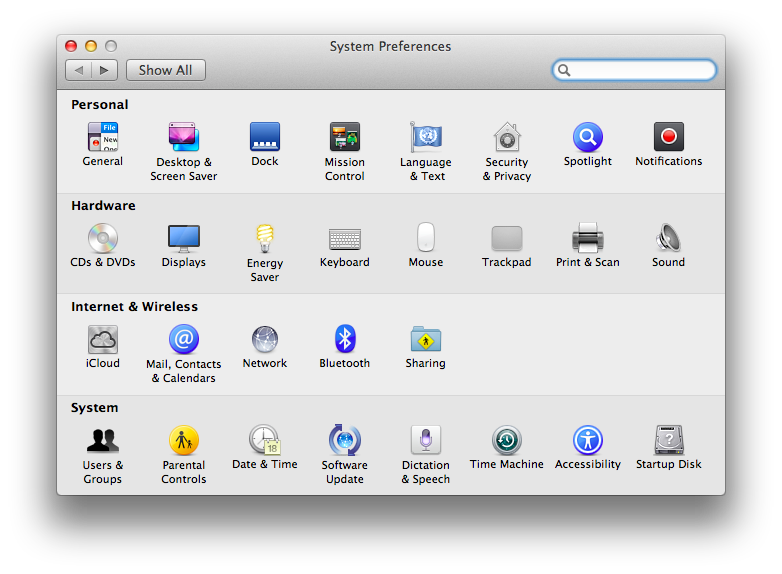
- In the System Preferences menu, open Print and Scan
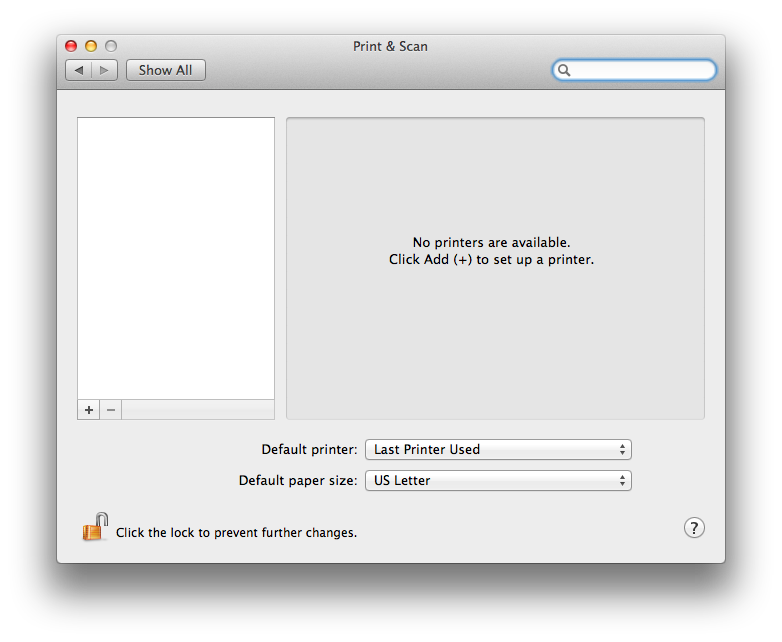
- Click the + sign to add a new printer. If the lock at the bottom is closed, you may have to click it to enable changes
- If the Advanced button does not exist on the tool bar, you will need to add it. In order to add the Advanced button, move the mouse over to the tool bar and press the Control key while pressing the mouse button/track pad. This should bring up a menu, please select the option for Customize Toolbar.
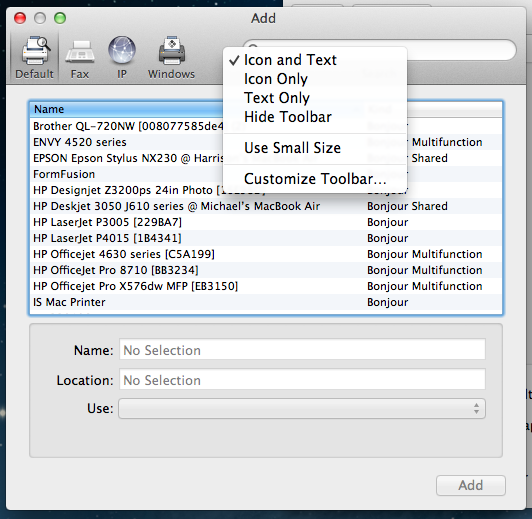
Adding the Advanced button is a simple matter of dragging the Advanced gear icon, from the selection menu, to the tool bar.
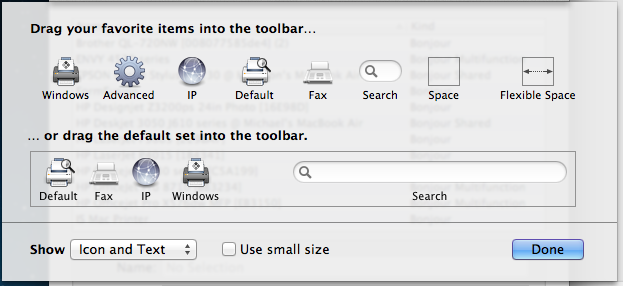
Once you have added the button to the tool bar, go ahead and press the Done button.
- Go ahead and click the Advanced button. The busy icon will pop up for a minute, or so, and then you will be given a dialog box. Click on the Type pull down menu, and choose Windows from the selection.
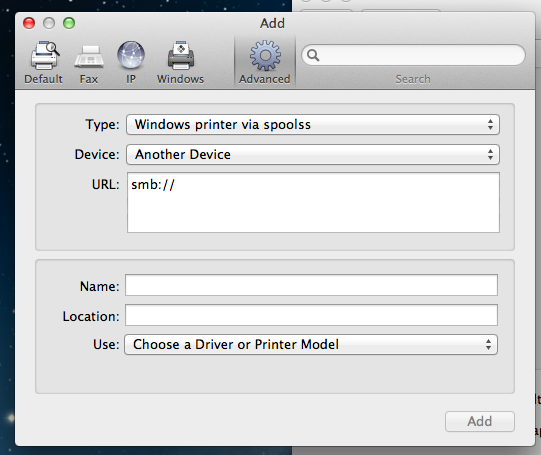
Under the option for URL enter the following:
smb://papercut/printername
The printer names are listed below organized by campus. The name will either begin with 'MFP' (which indicates a multi-function device) or 'P' (which indicates a stand-alone printer.)
For example - to map the printer in the DVTC-SA Student lounge, you would enter:
smb://papercut.lmunet.edu/MFP221
The student printers available are:
Corbin:
MFP005CBN: Corbin Computer Lab
DVTC:
MFP221: DVTC-SA Student Lounge
Main Harrogate Campus Printers:
DCOM Building
MFP204: 2nd floor student lounge color printer/copier/fax
P065: 2nd floor student lounge printer
P139: 4th floor student workroom
Math and Science Building
MFP189: MANS 425
Business Education Building
MFP054: BE 209
Library
MFP074: 1st Floor Hallway
P012: 1st Floor Computer Lab
MFP044: 2nd Floor Medical Library
Duncan School of Law
MFP016DSOL: 1st Floor Library
P027: 2nd Floor Outside the Study Rooms
MFP015DSOL: 3rd Floor Student Work Area
Cedar Bluff Campus
MFP006CB: Room 187
Under the option for Name, enter a description for the printer. This will usually be the print queue name.
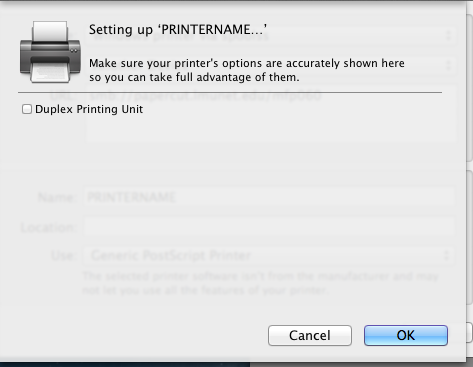
- Next, select the appropriate printer driver from the Print Using menu. For the majority of printers, the Generic Postscript Driver should be sufficient. Choose Duplex Printing Unit and then click OK.
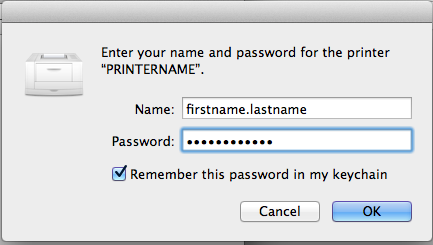
- The first time you print, you will be presented with a dialog box to enter your name and password. Be sure to enter your account name without the '@lmunet.edu', then enter the your account password (the same password you use to connect to MyLMU.) Be sure to select "Remember this password in my keychain" or you'll have to retype your password frequently.
Questions? Contact the IS Helpdesk.
